
So a friend of mine asked, after the last posting, for me to do a more detailed post in regards to what I do to propagate grape vines.
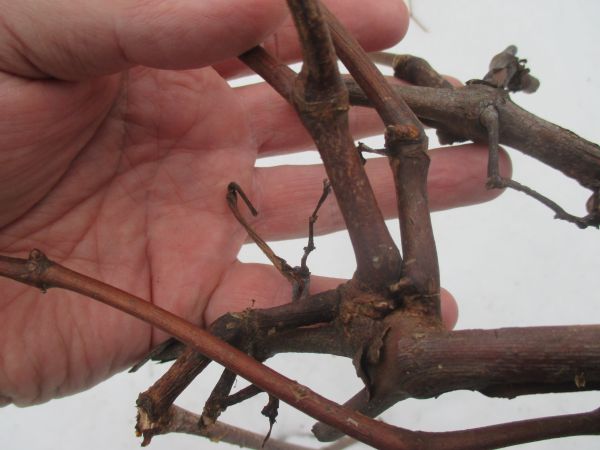
Step 1: You need wood that is approximately the width of a pencil, and last year’s growth. In the picture above, there is 2 year old wood, thicker, and with bark that is peeling a bit, running horizontal. There are 1 year old canes growing out of the top that I want to save for rooting, which is a way to clone the original varietal vine, in this case, a Bluebell eating grape.
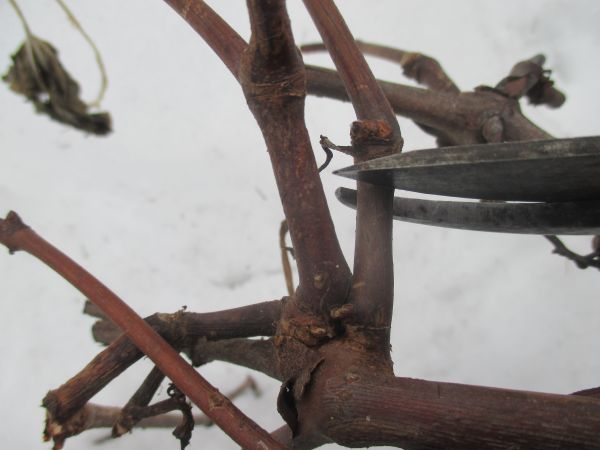
The first cut is just below the first primary bud on the cane.
You ideally want 3 or 4 buds left on each piece, and each piece to be 10″-12″ long. When you eventually plant them, only the top bud will be exposed. The other two will be buried, and will send out roots instead of leaves.
The next cut is done at a diagonal, leaving about two inches of cane above the top bud. This is because when you eventually plant it, the exposed top will dry back a bit, and cutting on a diagonal makes it obvious which end is the top. (It is not always obvious looking at a piece of cane, removed from the perspective of the whole vine, which end is “up”).
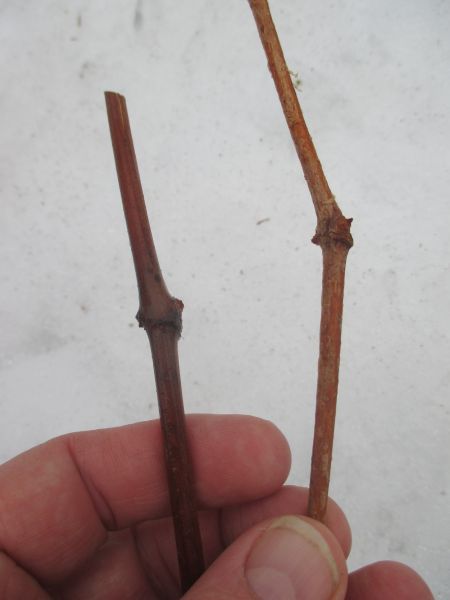
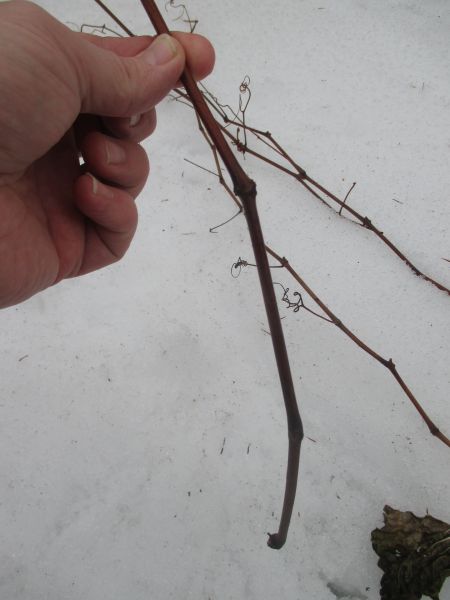
You need the saved cane to not be winter injured. Here, this winter, we got to -30F, and there was some cold injury to some of the vines. The one on the left, above, is healthy. The one on the right has died.
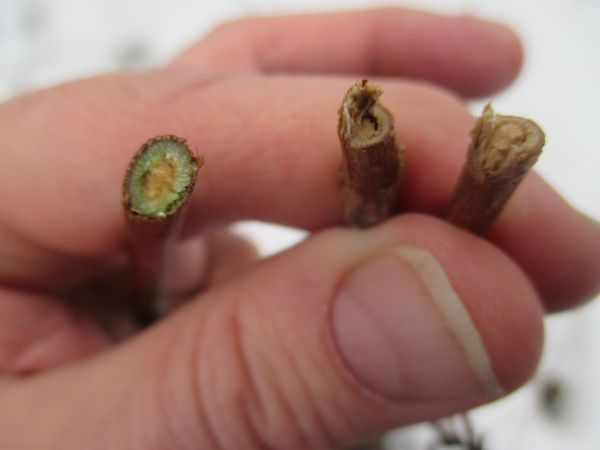
Just showing the cut end of the vine, left one is alive, while the right is spongy and brown.
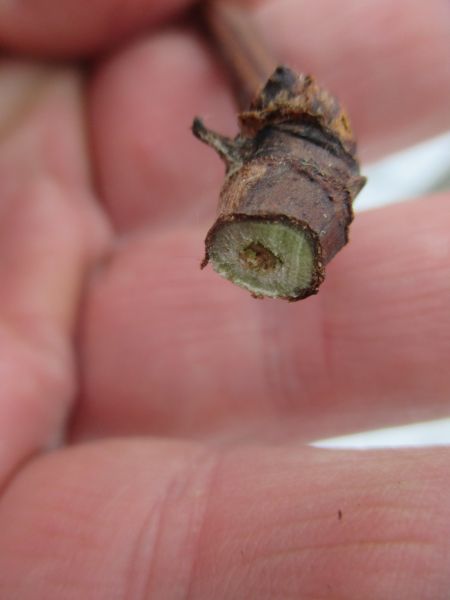
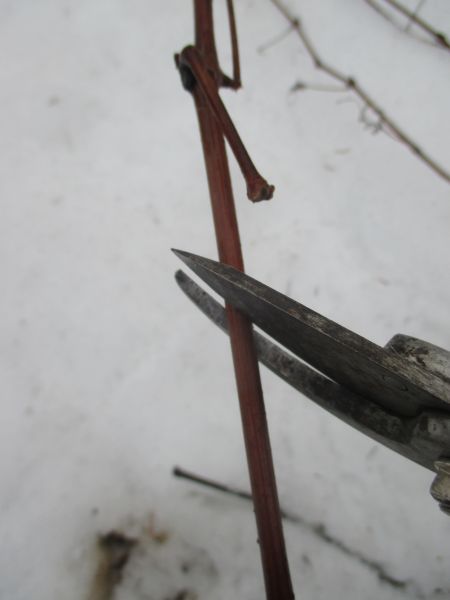
Where I cut the vine just below the first bud is also healthy and green.
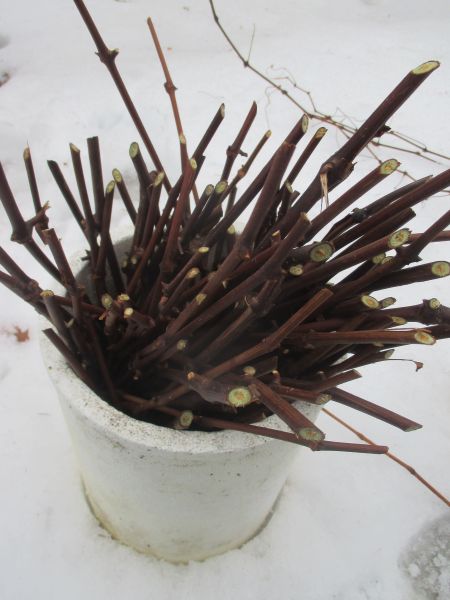
As you work your way through your pile of prunings, it is a good idea to have a bucket of water you can put them in that keeps them upright, and separated by type if you are doing more than one kind of grape vine.
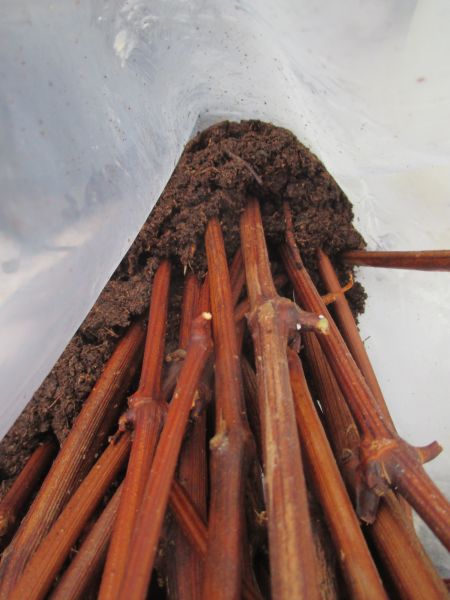
For longer term storage (because this is January, and they will not be planted out into the soil for months) I place them butt end down in moistened peat moss (not sopping wet, I have soaked the peat moss, and then squeezed the water out) inside a 2 gallon heavy duty plastic storage bag.
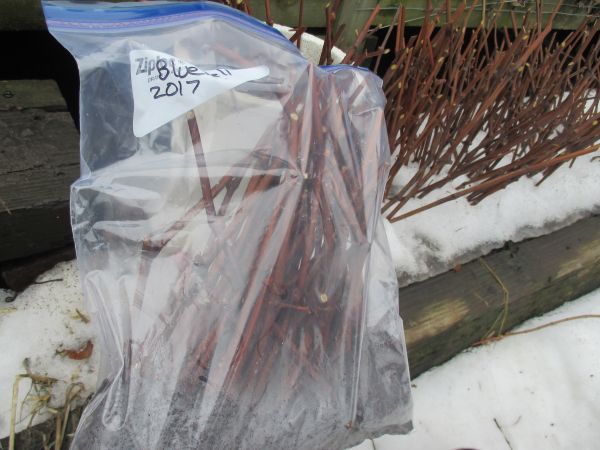
This bag of 50 cuttings is ready to sit in the fridge for a few months. When it is getting closer to the time to plant them out, I will take the bags out of the fridge, and place them, butt end down, on top of the fridge to warm them up, for a week or two, and then soak them, submerged in water, overnight, just before planting outside. I will try to remember to add those photos when that time comes to pass.