
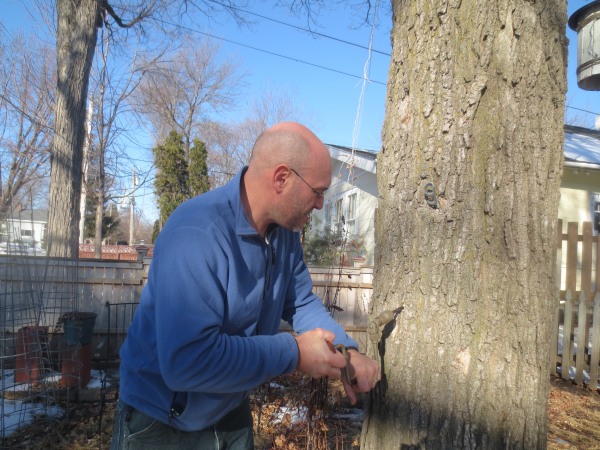
Trying things a little differently this year. I wanted to see how well the “traditional” way of tapping compares to what I came up with on my own.
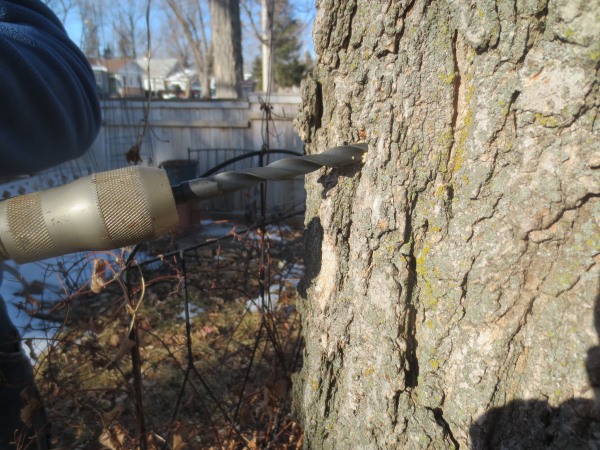
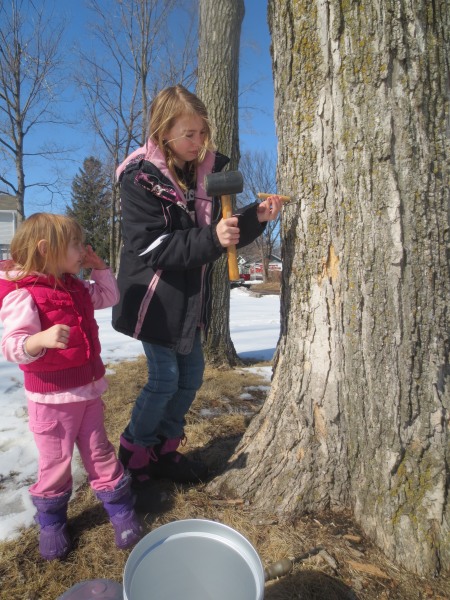
Most basics are the same. Drilled in with a 7/16ths bit at a slight upward angle, making sure the hole was a foot away from any previous holes.
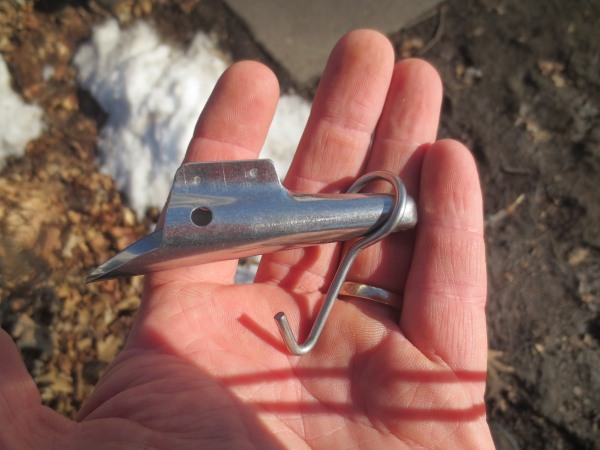
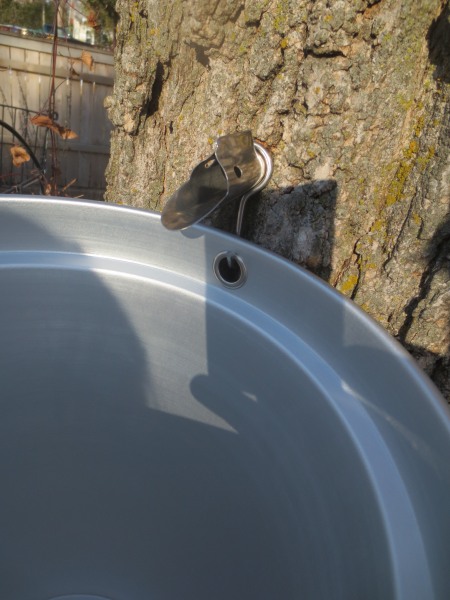
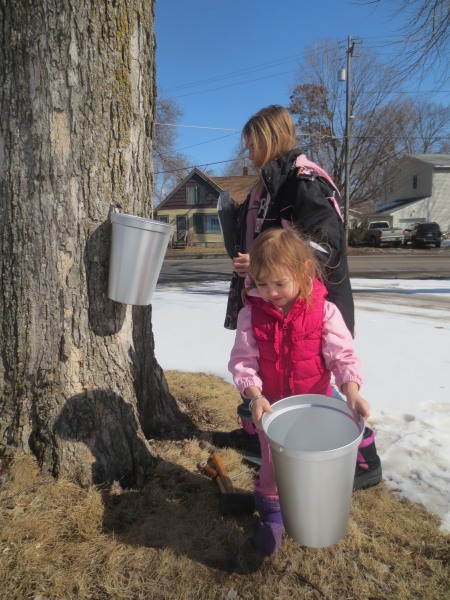
The spile is a bit neater and uniform than the ones I made myself. The hook for the bucket goes on the back end of it. The holes you can see near the spout are where you attach the lid.
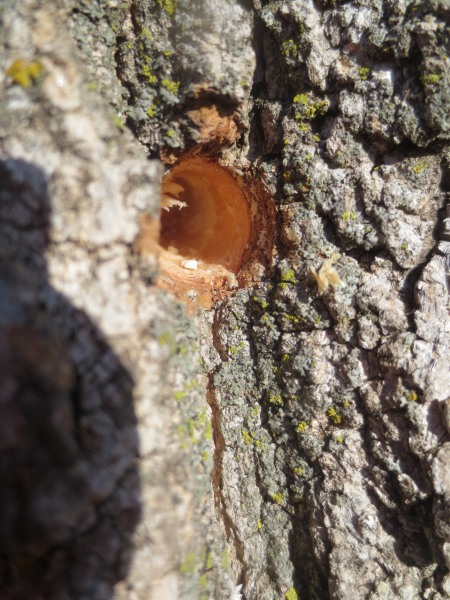
Though there was a little sap that welled up, the sawdust was not real moist. It is going to start really running soon, but it is not the stream we had last year when we tapped.
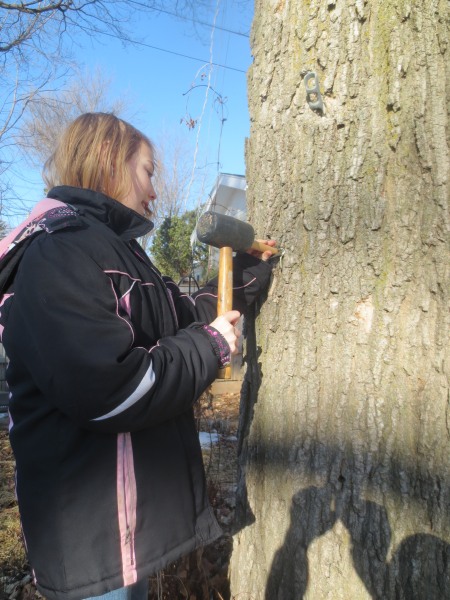
Claire used a wooden dowel and rubber mallet to snug up the spile.
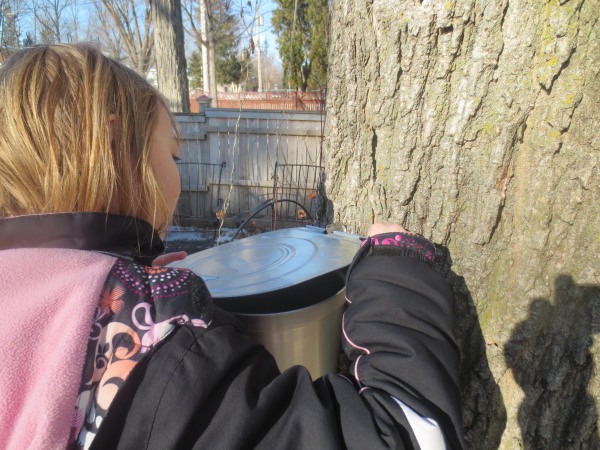
The bucket has a reinforced hole for hanging.
The lid has a metal rod that fits through the back of the lid and the spile to protect the sap from any detritus falling off of the tree.
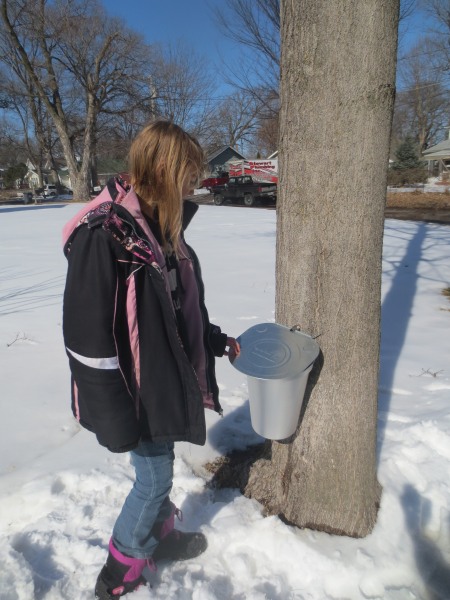
And that takes care of it. Being that this bucket is only 2 gallons, and previously we had 5 gallon water jugs we used, checking on how full they are, and care not to spill, are going to be more important, but aesthetically it is nice.

Not a fast drip, but it is dripping.
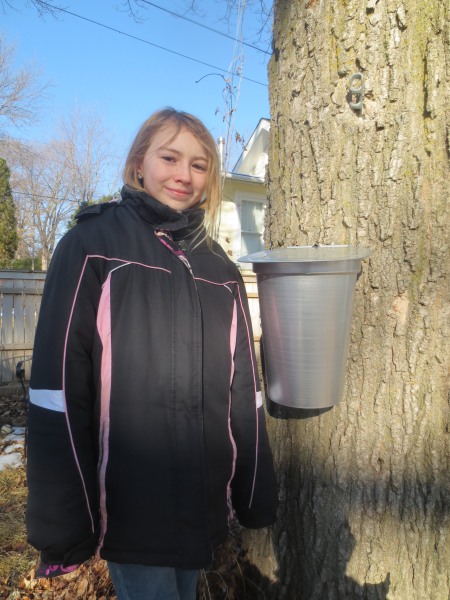
 We will see how efficient it is compared to how we have been doing it.
Went and talked to a neighbor/friend and got permission to tap a few of his trees as well. Violet came along which was fun and not terribly counter-productive.
Last year we tapped the tree 10 days later in the month than we are starting now, and we still had several feet of snow on the ground and mountains of snow from plowing and shoveling. This year things are a bit earlier. Not a bad thing. The cycle continues